Color Correcting Made Easy In FCPX With The HYFX Plugin

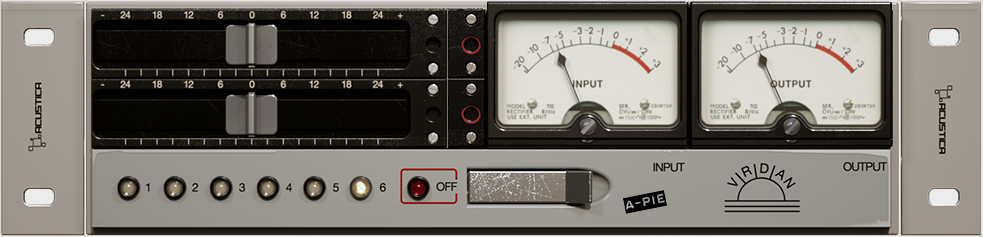
“HyColour is a really neat colour grading effect for FCPX that brings white balance, exposure, green cast removal, saturation, colour bias, sharpening and a broadcast safe filter, together in one place. Super handy, super cool.” – via hyfx.tv One of the biggest complaints about Final Cut Pro X to this day is the “Color Board” for color correcting. Sure it’s intuitive, and maybe a bit easier to understand than the standard color wheel – but it’s by no means efficient. Having to cycle through the 3 tabs for Exposure, Saturation, and Color is really annoying. As an artist – I want to have all the tools I need in one place. That’s where the HYFX HyColour Plugin comes in. After watching the tutorial below – I was immediately sold on the fact that I had to have it. If you are frustrated with Color Correcting – you must give HyColour a try. Check it out: I’ve been using this Plugin for about a year now – and it has not only sped up the color correcting process – but made me better at it. All the important tools are in one window, and easily adjusted with sliders. You can add sharpening to your shots, as well as quickly remove green cast from florescent lighting. If all that wasn’t enough – HYFX recently came out with the HyColour Pro version which adds masking, and the really cool ability to compare images side by side. Don’t take my word for it – check out the video below: I find myself still using the color board on occasion – but when I am looking to do some intensive correction – I am using the HyColour Plugin every time. I haven’t personally upgraded to the “Pro” version yet – however if I was looking to add a new tool to my arsenal – I think the “Pro” version is well worth the investment. Either way – you will find yourself flying through color correcting. “HyColour PRO is a complete colour grading solution for FCPX that avoids having to round-trip to Resolve or other grading tools.” – vi... Read more
Report
Related items: